Mixing the Dough: Mastering Hydration and Gluten Structure for Sourdough Success
Mixing your dough is a crucial step in creating sourdough bread with the perfect texture, flavor, and rise. Properly mixing the dough ensures the hydration levels are balanced and gluten develops effectively, setting the stage for a beautifully baked loaf.
In this guide, we’ll explore:
- How to calculate dough hydration levels.
- Step-by-step techniques for mixing dough.
- Essential tools to make mixing easier and more effective.
- The importance of choosing the right flour and timing adjustments.
1. Understanding Dough Hydration Levels
What is Dough Hydration?
Hydration refers to the percentage of water in the dough compared to the flour weight. It affects the dough's texture, elasticity, and crumb structure.
How to Calculate Hydration Levels
The formula for hydration is:
Examples of Common Hydration Levels
- Low Hydration (50-60%): Firm dough, typically used for bagels or pretzels.
- Medium Hydration (65-75%): Versatile dough for sourdough bread with a balanced crumb.
- High Hydration (80-85%): Wet dough, ideal for ciabatta or focaccia with an open crumb.
Pro Tip: At high altitudes, reduce the amount of starter used (not water) by 30-50% to prevent overproofing caused by faster fermentation.
2. Choosing the Right Flour for Dough Mixing

Flour Types and Their Uses
- High-Gluten Flour (Bread Flour): Ideal for sourdough bread due to its high protein content (12-14%), which supports strong gluten development and better dough elasticity.
- All-Purpose Flour: Can be used for sourdough but produces a softer crumb and slightly less structure.
- Whole Wheat Flour: Adds depth of flavor and nutrients but absorbs more water, requiring higher hydration levels.
- Rye Flour: Often used in small amounts to boost fermentation activity and add unique flavor.
Pro Tip:
For sourdough bread, aim for unbleached, high-protein bread flour. Experiment with blends (e.g., 80% bread flour + 20% whole wheat) to enhance flavor without compromising structure.
3. Step-by-Step Dough Mixing Techniques
A. Initial Mixing
- Combine Ingredients: In a large bowl, mix flour, water, starter, and salt until all flour is hydrated.
- Autolyse: Let the mixture rest for 20-40 minutes to allow the flour to fully absorb the water.
Tip: Autolyse is optional. If you mix the dough by hand, you can skip this step and proceed directly to kneading.
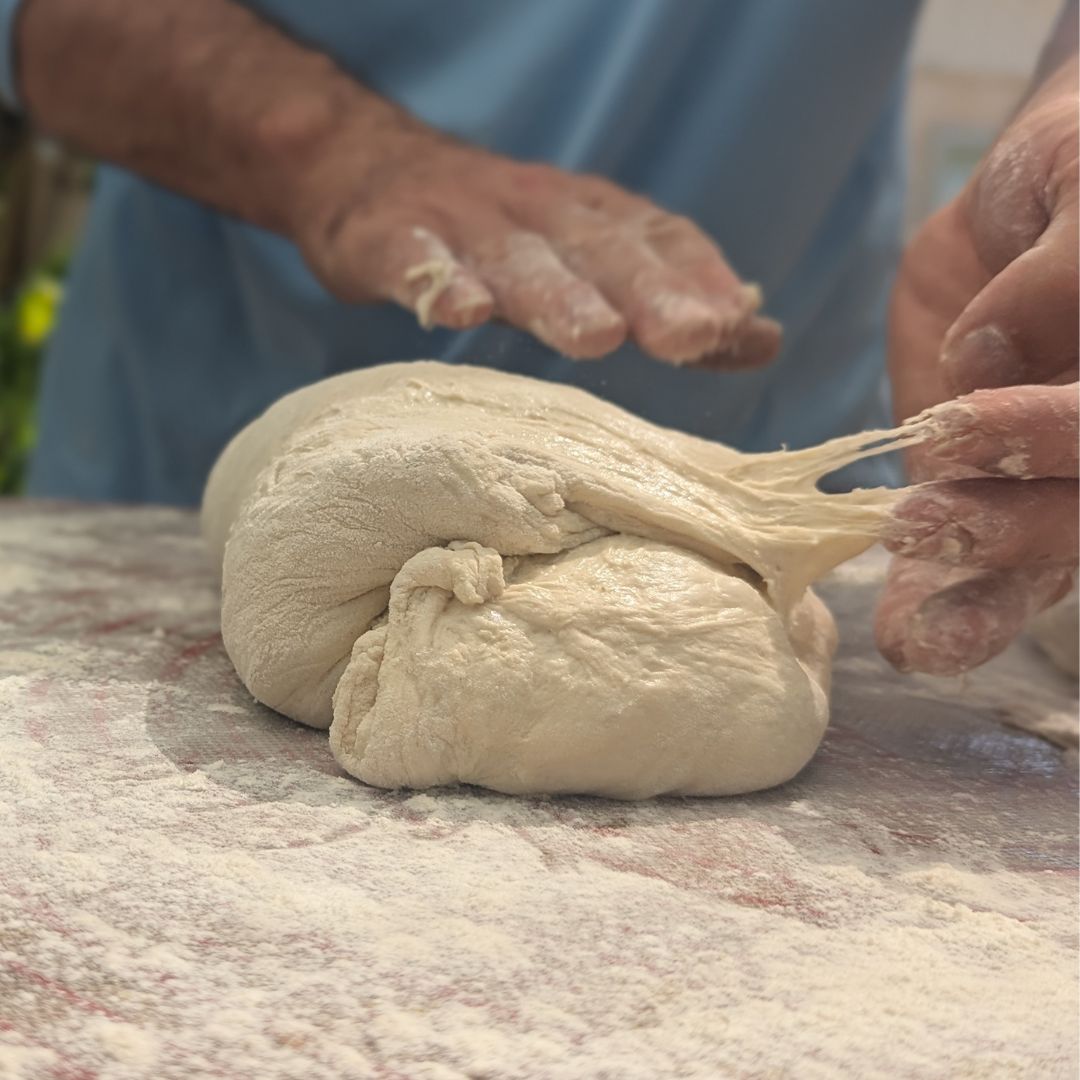
B. Stretch and Fold Techniques
Stretch and fold is crucial for gluten development. Here are two example schedules to fit your baking timeline:
Quick Process (Short Rest Periods):
-
- Perform 4 sets of stretch and fold with 20-minute rest intervals between each set.
- Total process time: ~1 hour and 20 minutes.
Gentle Process (Long Rest Periods):
-
- Perform 3 sets of stretch and fold with 40-minute rest intervals between each set.
- Total process time: ~2 hours.
Pro Tip: Use the shorter schedule for high-hydration doughs and the longer one for easier-to-handle doughs.
4. Timing Adjustments for Weather and Altitude
Examples of Timing Adjustments
Cold Weather:
-
- Extend rest periods by 10-15 minutes to compensate for slower fermentation.
- Example: Stretch and fold every 30 minutes instead of 20 minutes.
Hot Weather:
-
- Reduce rest periods to prevent over-fermentation.
- Example: Perform stretch and folds every 15 minutes for high-hydration dough.
High Altitude:
-
- Reduce the overall fermentation time by 20-30%.
- Example: If a recipe calls for 4 hours, aim for 2.5 to 3 hours.
5. Tools for Mixing Sourdough
Essential Tools and Examples
- Mixing Bowls: Large, nonstick bowls provide ample space for dough expansion.
- Bench Scraper: Ideal for lifting and folding sticky dough during mixing.
- Digital Scale: Measure flour, water, and starter precisely; e.g., 350g water for a 70% hydration dough.
- Thermometer: Check water temperature (75°F-80°F) or dough temperature (ideal is 77°F-78°F).
6. Troubleshooting Dough Mixing
Common Mistakes and Fixes
-
Dough feels too dry during mixing.
- Cause: Not enough water.
- Fix: Add water 1 tablespoon at a time while mixing until the dough comes together.
-
Dough spreads too much after mixing.
- Cause: Hydration too high or gluten underdeveloped.
- Fix: Perform additional stretch and folds to strengthen the dough structure.
-
Dough doesn’t rise during bulk fermentation.
- Cause: Starter is weak or room temperature is too low.
- Fix: Place dough in a warmer spot (75°F-80°F) and extend fermentation time.
7. FAQ: Dough Mixing Basics
What is the Ideal Water Temperature for Mixing Dough?
The water should be between 75°F and 80°F for optimal yeast and gluten development.
How Long Should I Mix Dough by Hand?
Mix until the dough is smooth and slightly elastic, typically 5-7 minutes.
Can I Use All-Purpose Flour Instead of Bread Flour?
Yes, but bread flour provides better gluten structure, especially for higher hydration doughs.
Ready to Bake? Learn Dough Mastery in Our Classes
Want to perfect your dough mixing technique? Join our hands-on sourdough baking classes at Sherwood Coffee 'n' Bread in Albuquerque. Learn how to calculate hydration, mix dough like a pro, and create sourdough bread that’s as beautiful as it is delicious.
Dive Deeper into Sourdough Baking
Mixing the dough is just one step in the sourdough journey. For a complete guide to mastering sourdough bread - from starter care to shaping and baking, check out our Complete Sourdough Guide. It’s packed with step-by-step instructions and expert tips to elevate your baking.